Blender - animation - how it works
Category:
Blog

This article is for beginners. Let's get acquainted with the basics of creating an animation effect. This is a masterpiece of achievements in the world of 3D.
After reading this article, don't forget to visit our section with addons for Blender 3D - here is the link. You will definitely download for free the right tool to optimise your creative process.
Something without which animation is impossible
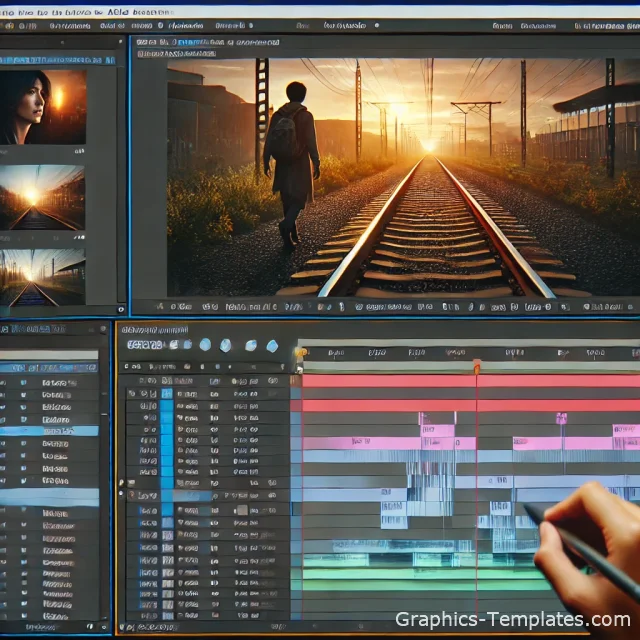
These are keyframes and timeline. We suggest using the Animation workspace. During workflow, this area provides access to the top camera view. And the Dope Sheet editor for working with the timeline.
Creating Animation
Let's begin by creating the first key frame. It will contain the parameters of the object. When creating a second frame with different parameters and combining them into one system, animation is produced. We were a little hasty here.
Let's return to the sequential steps:
- select an object to work with (ball, cube, etc.)
- right-click on the object and select the submenu item “Insert Key Frame”
- a window for selecting a frame parameter will appear.
TIP: For beginner level and ease of practice, choose Location.
- The created object is visualized as a set of yellow dots in the Dope Sheet/ Timeline window. Pay attention here. A cube is an object for animation. The Object Transform process is the location of the object.
- Create the second frame in the same way as the first. With the second frame selected, drag the playhead a few frames forward or backward.
- Check – when you drag the cursor, the animation should work.
Animation overlay and playback
Keyframes with parameters have been created. Let's move on.
Play Animation button sets your frames in motion
With a parameter of 250 in the “Animation Length” field, when the action ends, the animation will “freeze” and after a few seconds playback will start from the beginning. To get a looping effect, change the Animation Length parameter.
Animating Using Auto Keying
Autokeying function (or “Record”) – this “spy” monitors all actions and automatically creates + saves key frames. How to take advantage of the services of this technological progress? At the bottom of the editor's working window there is a button with a dot (similar to the video recording button on a phone). In principle, this function is similar to recording actions.
When enabled, any action you apply to an object will be recorded as a keyframe. There is no need to use other tools.
This is really handy as it allows you to animate and record everything very quickly without worrying too much about forgetting to key frame or anything like that.
Although there are many situations where this can be harmful. If not done carefully, existing keyframes may be overridden. To avoid unwanted consequences, simply turn it off.
Possible difficulties in animation
Here's a quick guide with the key points:
- The animation appears sharp and jerky: the distance between keyframes is very small. The animation does not flow, but moves in jerks. Increase the distance between frames;
- The frame is created, but the animation does not work: We remind you that the animation process requires at least 2 frames with different parameters;
- After converting an object, the new parameters were not saved. Everything returned to the data of the previous key frame: after transforming the objects, you need to create a key frame, then the changes will be saved;
- Strange actions are applied to the object/the object performs incorrect transformations: you have Auto Keying (Record) enabled and you are experiencing undesirable consequences. Disable
Here are the most basic Blender animation skills and a list of problems with solutions. Did you like it? We hope you appreciate it.
Don't forget to visit our section with free 3D models for 3ds Max and Blender - you will surely download useful content for your project there. We also recommend you to check out the category with free PBR textures - you will surely choose the right surface, be it wood, brick or metal. In each file you will get a full set of seamless images to create realistic PBR material.
Add